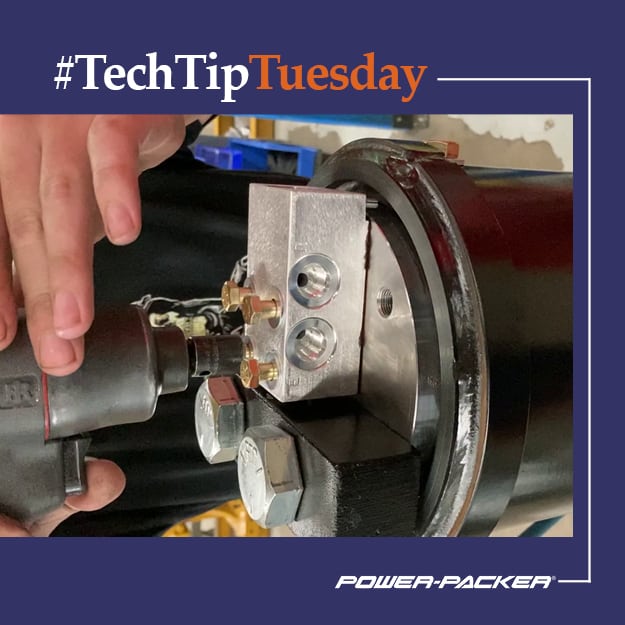
24 Apr Tech Tip Tuesday: How to repair or replace the manifold block on a 5- or 6-inch stabilization leg
If you know how to repair the manifold block on 3.5- or 4-inch stabilization legs, you might think repairing a larger stabilization leg is pretty straightforward. However, larger stabilization legs are designed differently.
This is because they’re used on heavy-duty equipment, so they’re specially designed to carry a substantial load. The unique construction that ensures increased load holding means more components. As you’re repairing or replacing the manifold block, the margin of error increases. So, what’s the most important thing to remember as you’re repairing that 5- or 6-inch stabilization leg? Take your time and keep track of your parts.
Here’s the correct procedure for repairing or replacing the manifold block on a 5- or 6-inch stabilization leg:
- First, make sure no weight is being supported by the stabilization legs. Extend the legs slightly from the full retract position to relieve any internal pressure. Mark each hose so you know which port it connects to, then disconnect the hoses from the leg. It is now safe to remove the stabilization leg from your equipment.
- Second, ensure there is no residual pressure in the leg by slightly cracking the pilot-operated check or dual counterbalance valves. This is a very small movement, likely only a quarter or half turn. If there is pressure behind the valves, you will see oil spill out. If this happens, allow the pressure to bleed off, then open the valve another quarter turn to ensure there is no residual pressure.
- Third, remove the lock valve from the leg by taking off the four, 5/16-inch hex head bolts. If you only need to repair the lock valve, you can safely remove it while the leg is still on your equipment.
- Note: If the leg is on the equipment during service, removing the manifold will allow the shoe to drop to the ground. We recommend extending the leg so it’s just slightly above the ground or supporting the leg prior to removing the manifold.
- Now, remove the old manifold and gasket. Replace them with the new manifold, found in service kit #1010001971 (pilot-operated check valves) or #1010003074 (dual counterbalance valves).
- Use clean hydraulic oil to lubricate the mounting surface for the manifold block.
- When placing the manifold on the leg, make sure the two O-rings are properly in place. These are noted as item two in service kit #1010003074, and item four in service kit #1010001971.
- Use a 5/16-inch torque wrench to tighten the four bolts to 14 foot pounds.
- Complete the fill and bleed procedure.
As you disassemble and reassemble a stabilization leg, it’s very important to keep all parts clean to prevent any damage. Questions about how to repair a 5 or 6-inch manifold block on a stabilization leg? Contact our Customer Service team at info@powerpackerus.com for more information.
Preventative maintenance will ensure the life of your hydraulic system. For routine maintenance tips, check out our February Tech Tip.
Note that these processes apply only to Power-Packer products manufactured in North America.


